Make your Website load Faster!

I had to optimize a website, a couple days ago. My goal was to lower the time required to load the website. So… i spent quite some time doing a quick research… and found this awesome tool, which by the way is free!.

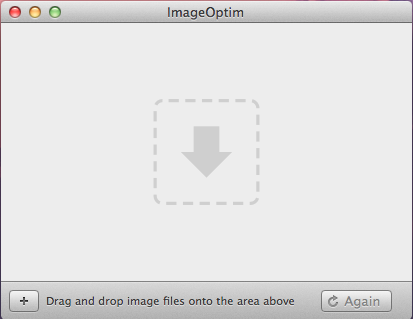
Screen Shot 2013-01-21 at 11.08.54 AM

It’s called ImageOptim. You simply drag & drop the assets you’d like to compress, and the guy will do the rest. I’ve been able to compress most of the images i’ve got, to 50% of their original size.

So now… my websites load super fast. If you’re running Windows (or Linux)… you could try ImageMagick. Which, by the way, is excellent as well.

App Review: Reeder

I’ve tried several RSS Readers for Mac. Many of them are free… such as Google Reader, or Capuccino. But a couple weeks ago i sumbled upon Reeder. I dare to say… it’s the best RSS Reader you’ll be able to find, anywhere else.

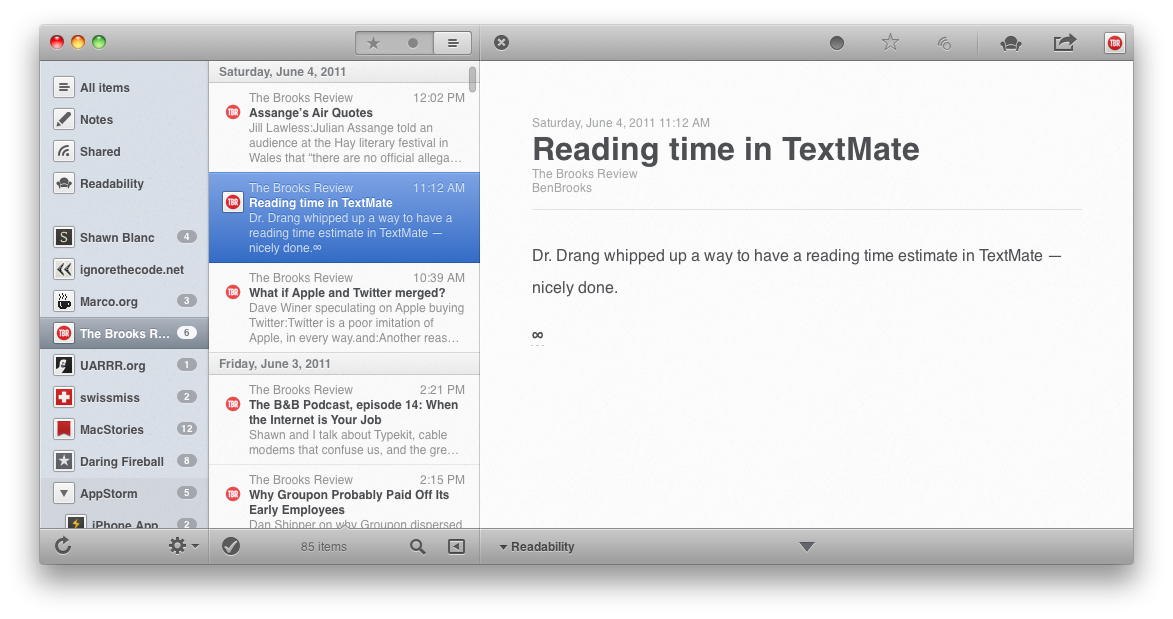
Why is that?. Well, the UI is pretty awesome… take a look:

reeder

Reeder has several UI styles. Personally, i use the layout portraited above. You get your feed list on the left… the posts in the middle, and the actual post on the right.

Now here’s something interesting. If you click over a post, the app hides the Feed List, and automatically enhances the post itself. Reeder has also something super cool. It’s Gestures-Enabled, which means that you can just swipe to the left or right, and trigger several actions (of course, you can configure that).

Most important of all… you can connect Reeder to your Google Reader account, and that’s it, this guy is gonna keep everything in sync. You could run it across several OSX installations, and… everything will be in sync.

I know it ** might ** be a bit expensive, for a simple rss reader. But trust me, this ain’t no simple reader.. and i believe it’s totally worth it!.

Adding Adsense to your blog

This is probably trivial to everyone around, but i’d like to share it anyways.

  1. Signup for an account here: adsense.google.com
  2. Wait till you get the first ‘Site in Review’ mail.
  3. Once you got access to the Adsense main page, hit ‘My Ads’, and create a brand new ad.
  4. Copy the source code for the ad!.
  5. Install the required plugin…
    1. If you’re using WordPress, i suggest you try this plugin: http://wordpress.org/extend/plugins/quick-adsense/
    2. If you’re using Blogger, just hit the settings, it’s already integrated.
  6. Setup QuickAdsense (or Blogger). If you dare, you can always simply inject the ad-code yourself.

No matter what, please, remember the adsense guidelines. It’s pretty simple… don’t click your own ads, and.. don’t steal content!. That includes youtube music videos, and piracy.

Got it?

Setting OSX Firmware Password

OSX is a strong and secure system. Until you realize there is a feature called ‘single user login’… which virtually grants you ROOT access, provided that you have physical access to the target machine.

  1. Boot the system.
  2. Press CMD + S.
  3. You should get a bash shell, with ROOT permissions.

That sucks, pretty much. There is just no single password screen. If you have the machine, you can access its files. How do we prevent this????.

In Lion, and Mountain Lion…:

  1. Open Terminal and type:

    [cc lang=”bash”]defaults write com.apple.DiskUtility DUDebugMenuEnabled 1[/cc]

  2. Open DiskUtility and choose “Show every partition”, from the ‘Debug’ menu you have just unlocked.
  3. Mount the ‘Recovery HD’ hidden partition.
  4. In Terminal, type:[cc lang=”bash”]open /Volumes/Recovery\ HD/com.apple.recovery.boot/BaseSystem.dmg[/cc]
  5. In the BaseSystem DMG you’ve just mounted, locate: Applications/Utilities.
  6. Launch ‘Firmware Password Utility’, and simply follow the instructions.

That should, at the very least, enhance a little bit your security.

Using NSLocalizedString with a dictionary stored inside a bundle

We’ve seen before how to create an iOS Assets bundle. Today, we’ll try to localize a string, using a dictionary stored in a bundle. In order to do so… we’ll rely on the following helper method:

[cc lang=”objc”]
@interface LABundles
+ (NSBundle*)someResourcesLocalizationBundle
@end

@implementation LABundles
+ (NSBundle*)someResourcesLocalizationBundle
{
static NSBundle* someResourcesLocalizationBundle = nil;

if ( someResourcesLocalizationBundle == nil )
{
// This double check increases efficiency. Don’t you get bored of asking the same thing twice?.
@synchronized(self)
{
if ( someResourcesLocalizationBundle == nil )
{
// Figure out the current language.
NSUserDefaults* defs = [NSUserDefaults standardUserDefaults];
NSArray* languages = [defs objectForKey:@”AppleLanguages”];

NSString* currentLanguage = [languages objectAtIndex:0];

// Map the current language’s folder within the bundle
NSBundle* bundle = [NSBundle someResourcesBundle];
NSString* path = [bundle pathForResource:currentLanguage ofType:@”lproj”];

// Okay, let’s go with the default bundle
if ( path == nil )
{
someResourcesLocalizationBundle = bundle;
}
// Bingo!
else
{
someResourcesLocalizationBundle = [NSBundle bundleWithPath:path];
}

[someResourcesLocalizationBundle retain];
}
}
}

return someResourcesLocalizationBundle;
}
@end
[/cc]

 
What’s that all about?. Well… it turns out that order to resolve localized strings, first of all we need to figure out what’s the device’s language.

After that, we need to load a NSBundle object mapped to the folder inside the bundle, which contains the localized strings file. And then we can begin talking about resolving a localized string.

The code pasted above has been tested, of course!. But how do you use it ????

Supposing that you need to localize the string ‘Testing1’, and that you intend to use a dictionary named ‘InfoPlist.strings’, you need to do the following:

[cc lang=”objc”]
[[NSBundle someResourcesLocalizationBundle] localizedStringForKey:@”Testing1″ value:nil table:@”InfoPlist”]
[/cc]

Of course, you can customize that. If your dictionary file is named ‘Localized.strings’, you don’t even need to specify the ‘table’ parameter.

I hope you find this useful!